B L O G

Herb Infused Olive Oil
Want a super easy DIY to satisfy your cravings until Spring comes? Well, we’ve got the perfect solution for you: Herb Infused Olive Oil. You’re welcome. This oil recipe makes the perfect gift, is super easy to make (but looks like it’s not), and will bring so much flavor to your next dinner.
Want a super easy DIY to satisfy your cravings until Spring comes? Well, we’ve got the perfect solution for you: Herb Infused Olive Oil. You’re welcome. This oil recipe makes the perfect gift, is super easy to make (but looks like it’s not), and will bring so much flavor to your next dinner.

IMPORTANT: you want to make sure that you choose a high quality olive oil, as this is the main ingredient. Second, you want to make sure that you’ve prepared for everything to be completely dry- bottles, utensils, herbs, etc. If not, mold can settle, and that’s no bueno for your recipe.

You can use any herbs for this recipe that you want, and can even mix them, but for this recipe we will be using Rosemary. If you are using fresh herbs from your garden or pots, remember to dehydrate them before beginning. See below on how to do that. If you don’t have access to fresh herbs, you can always buy dried herbs from the store. But remember that we open up soon, and will have ALL the fresh smelling herbs ready for you!
Dehydrating your herbs:
Cut your herbs to the size you want them in the bottle
Wash any dirt off, then dry them with a paper towel
Line a baking sheet with parchment paper and place your sprigs on it
Set oven on lowest temperature and “cook” for about 1 ½ to 2 hours

How to Make Rosemary Infused Olive Oil
Add about 2 cups of your olive oil together with about 3 to 5 sprigs of Rosemary into your pot. Then heat over a medium temperature for about 5 minutes. Remove from heat and let your oil cool. Once your oil has cooled down, you can strain and store in a jar that allows you to close the lid tightly. You can even add a few sprigs of Rosemary to your jar for a pretty aesthetic. This oil will last for about 3 months and needs to be stored in the refrigerator, but with how easy it is to make, you’re probably going to be making more very soon anyways.
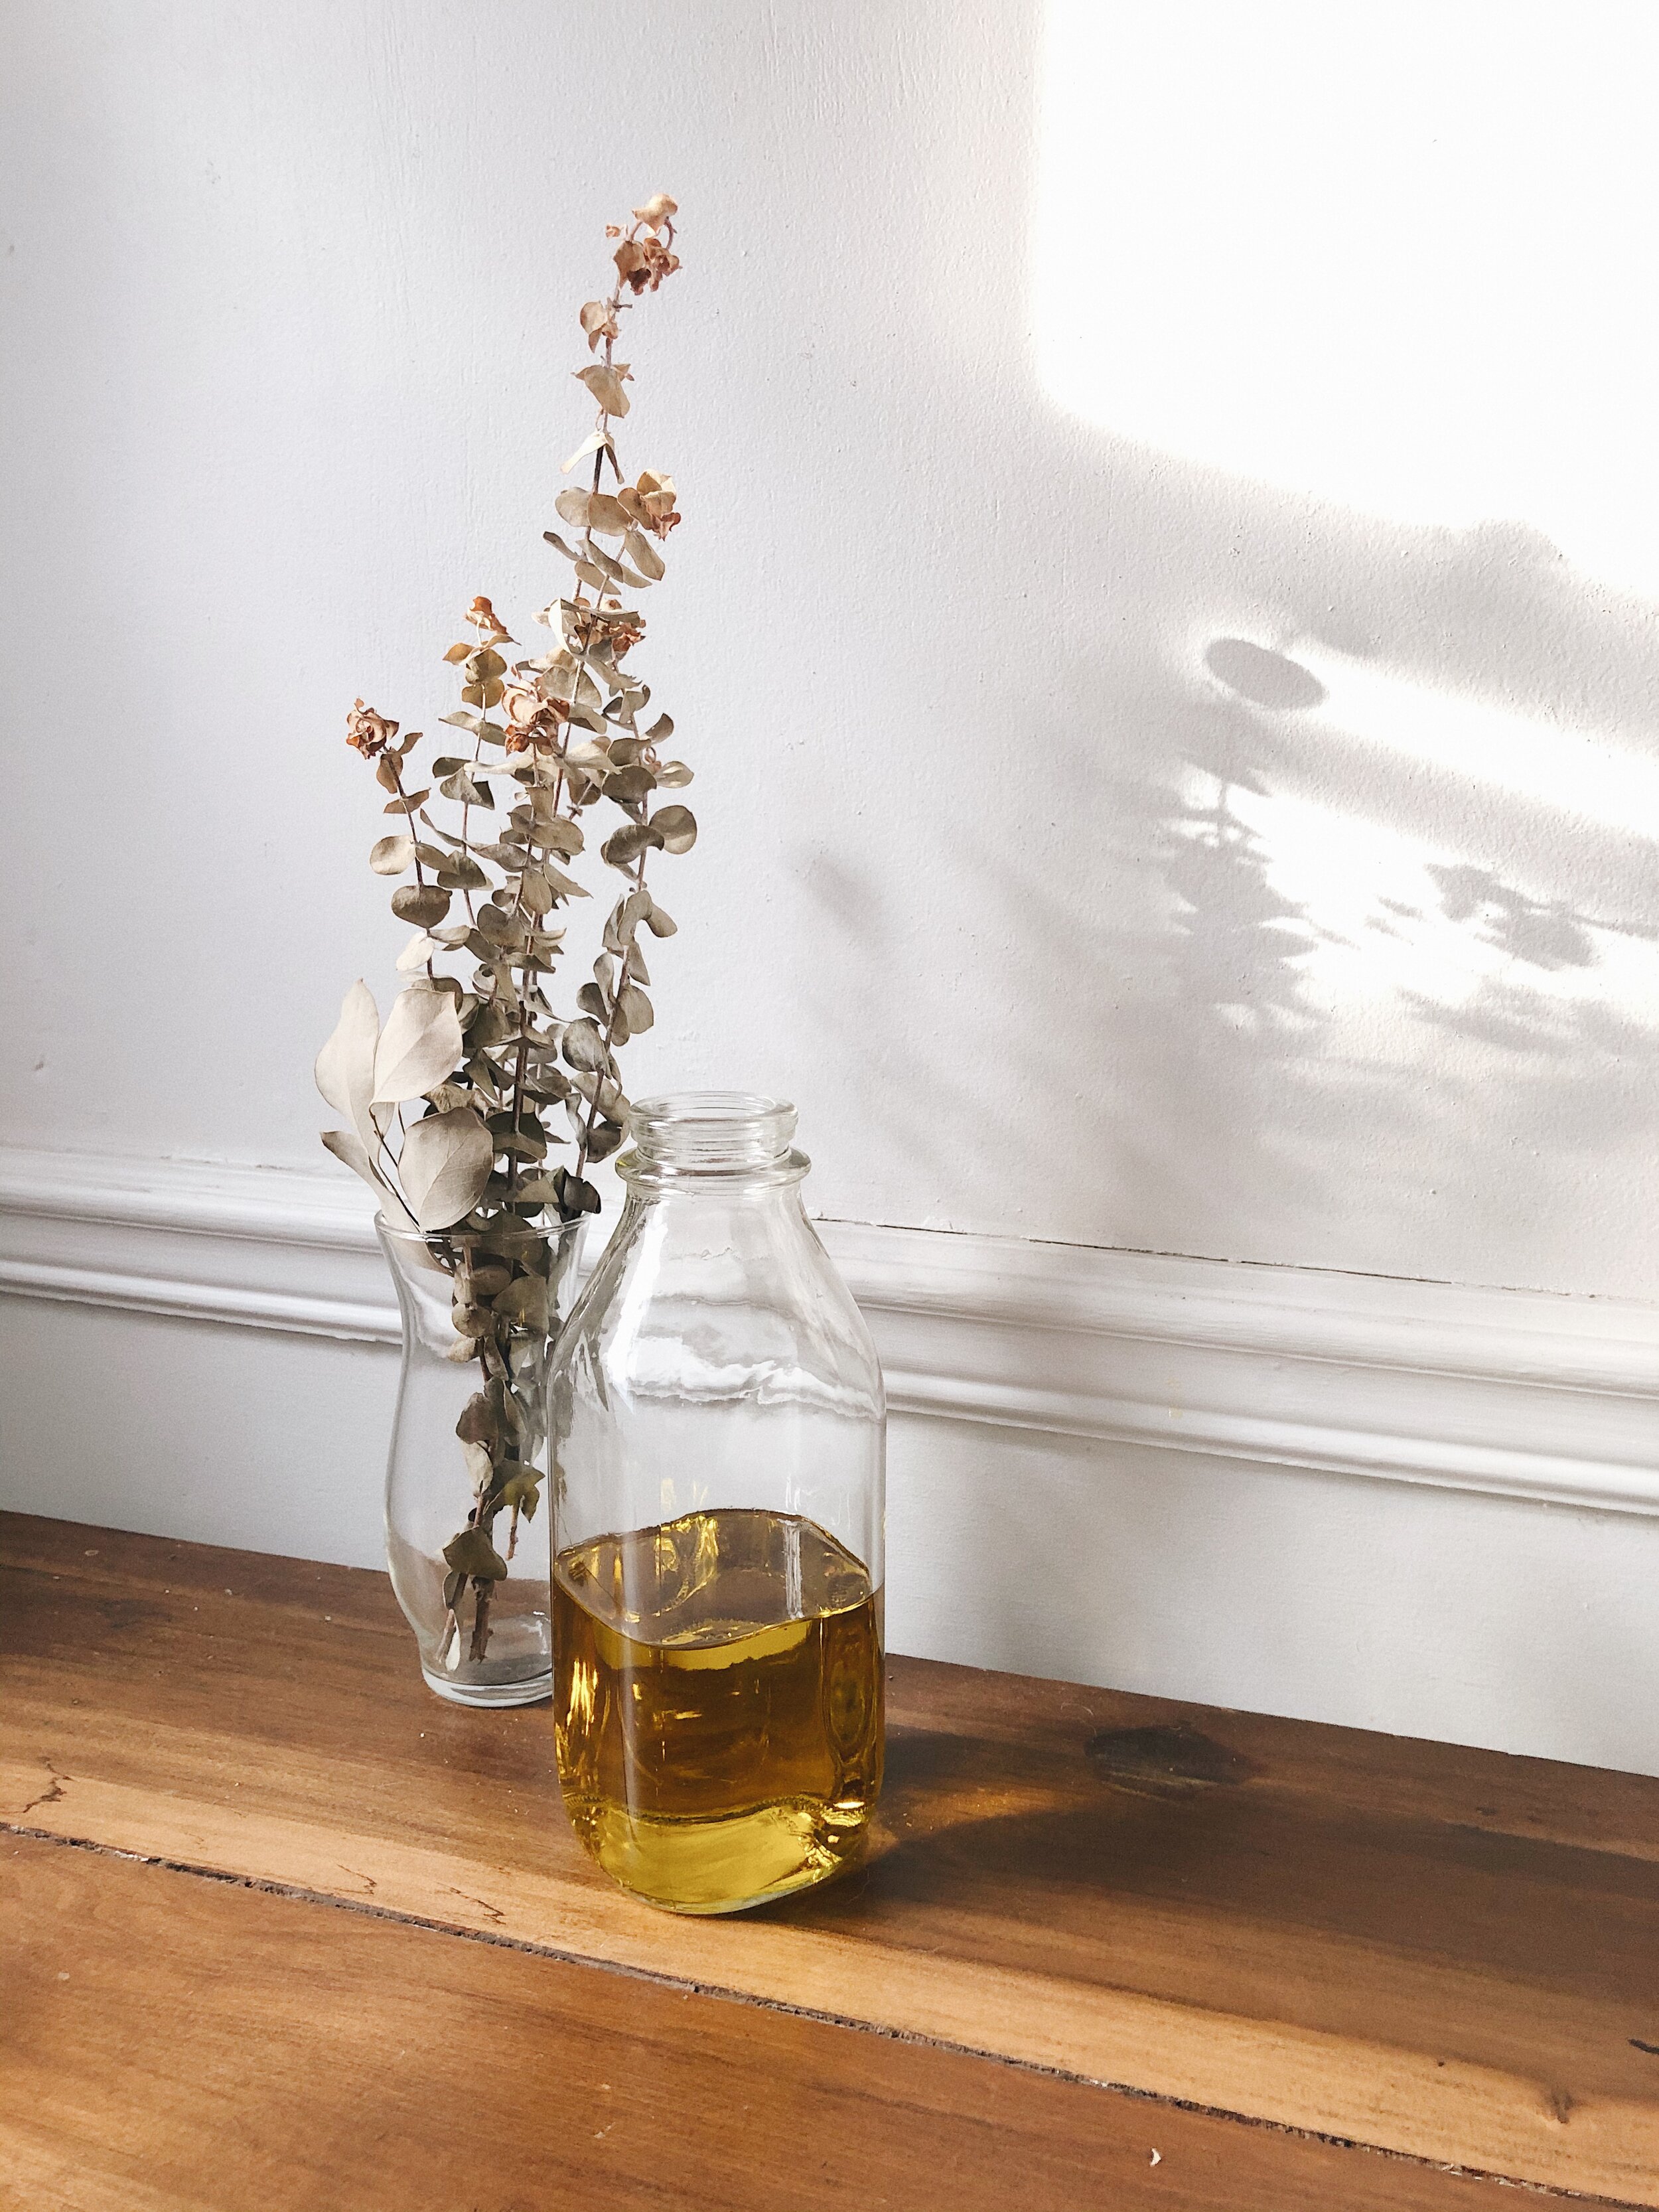
Rosemary Infused Olive Oil
Total time: 10 minutes
INGREDIENTS
2 Cups Olive Oil
5 Rosemary Sprigs
DIRECTIONS
1. Combine your oil and Rosemary sprigs into a pot
2. Heat over medium heat for about 5 minutes
3. Remove from heat and let cool
4. Strain oil into a jar with a tightly closed lid
5. Store in refrigerator for up to 3 months
Rosemary is a great herb that lasts all year long in central NC, so don’t forget to pick up one for yourself when we open, which will be VERY soon.

Thank you so much for joining us here. For more information on what Garden Valley Farmers Market is about, you can visit us here. If you’re wanting to visit with us, come by any of our five North Carolina locations. If you’re wanting to follow along with us, you can do so either on our Facebook, Youtube, or our Instagram. And if you’re wanting to check out our other recipes and blog posts, or are needing more inspiration, follow us on our Pinterest. We’d love to have you join us in our journey of planting better, eating better, and living better.
Much love,
Your Garden Valley Farmers Market Team

5 Steps To Preparing Your Garden For Spring
With Spring fast approaching, we’re wanting to set you up for success this planting season. And when our mom’s taught us to be prepared, we took it to heart. That’s why we’re passing along these 5 steps for you before you start planting your flowers and vegetables this year.
With Spring fast approaching, we’re wanting to set you up for success this planting season. We desire to start fresh every year, and we want you to join that journey with us too. That’s why we’re passing along these 5 steps for you before you start planting your flowers and vegetables this year.
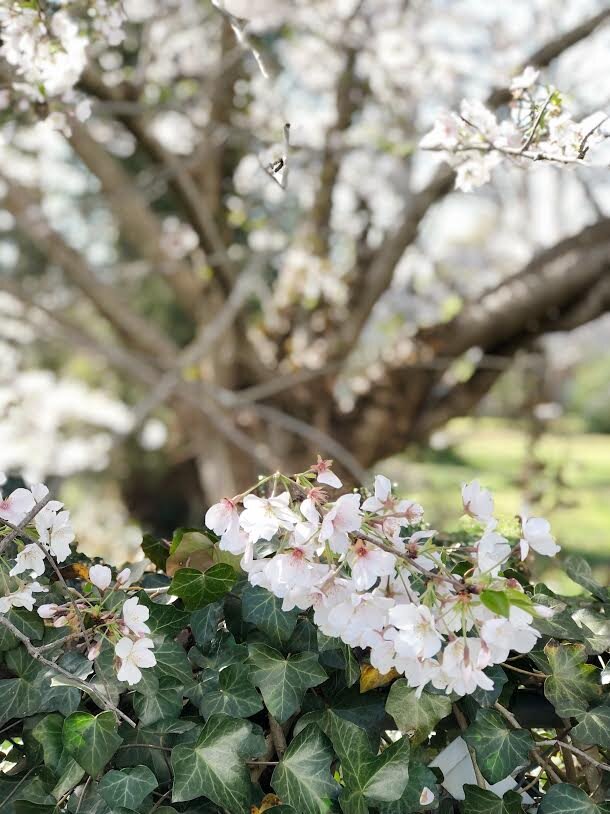
5 Steps To Preparing Your Garden For Spring
Clean up. Winter can bring a lot of harsh elements to your land. Broken off branches, leaves left over from the fall, and whatever the winds and animals may have tracked in. Now is the time to inspect your garden and clean up whatever winter may have brought.
Check garden tools. Carefully inspect your tools and see what needs to be tossed or cleaned. Clean your tools with some warm water and soap and start fresh this spring. Also check to see if something is damaged. Toss it if it’s irreparable, because there’s nothing more annoying than when you’re getting ready to work in your garden but can’t because the tools are broken.
Check barriers. Inspect your fencing, trellises, tomato cages, and any other barriers you will be using in or around your garden. Check for rotting wood, damage, or any other imperfections that might hinder your gardening this year.
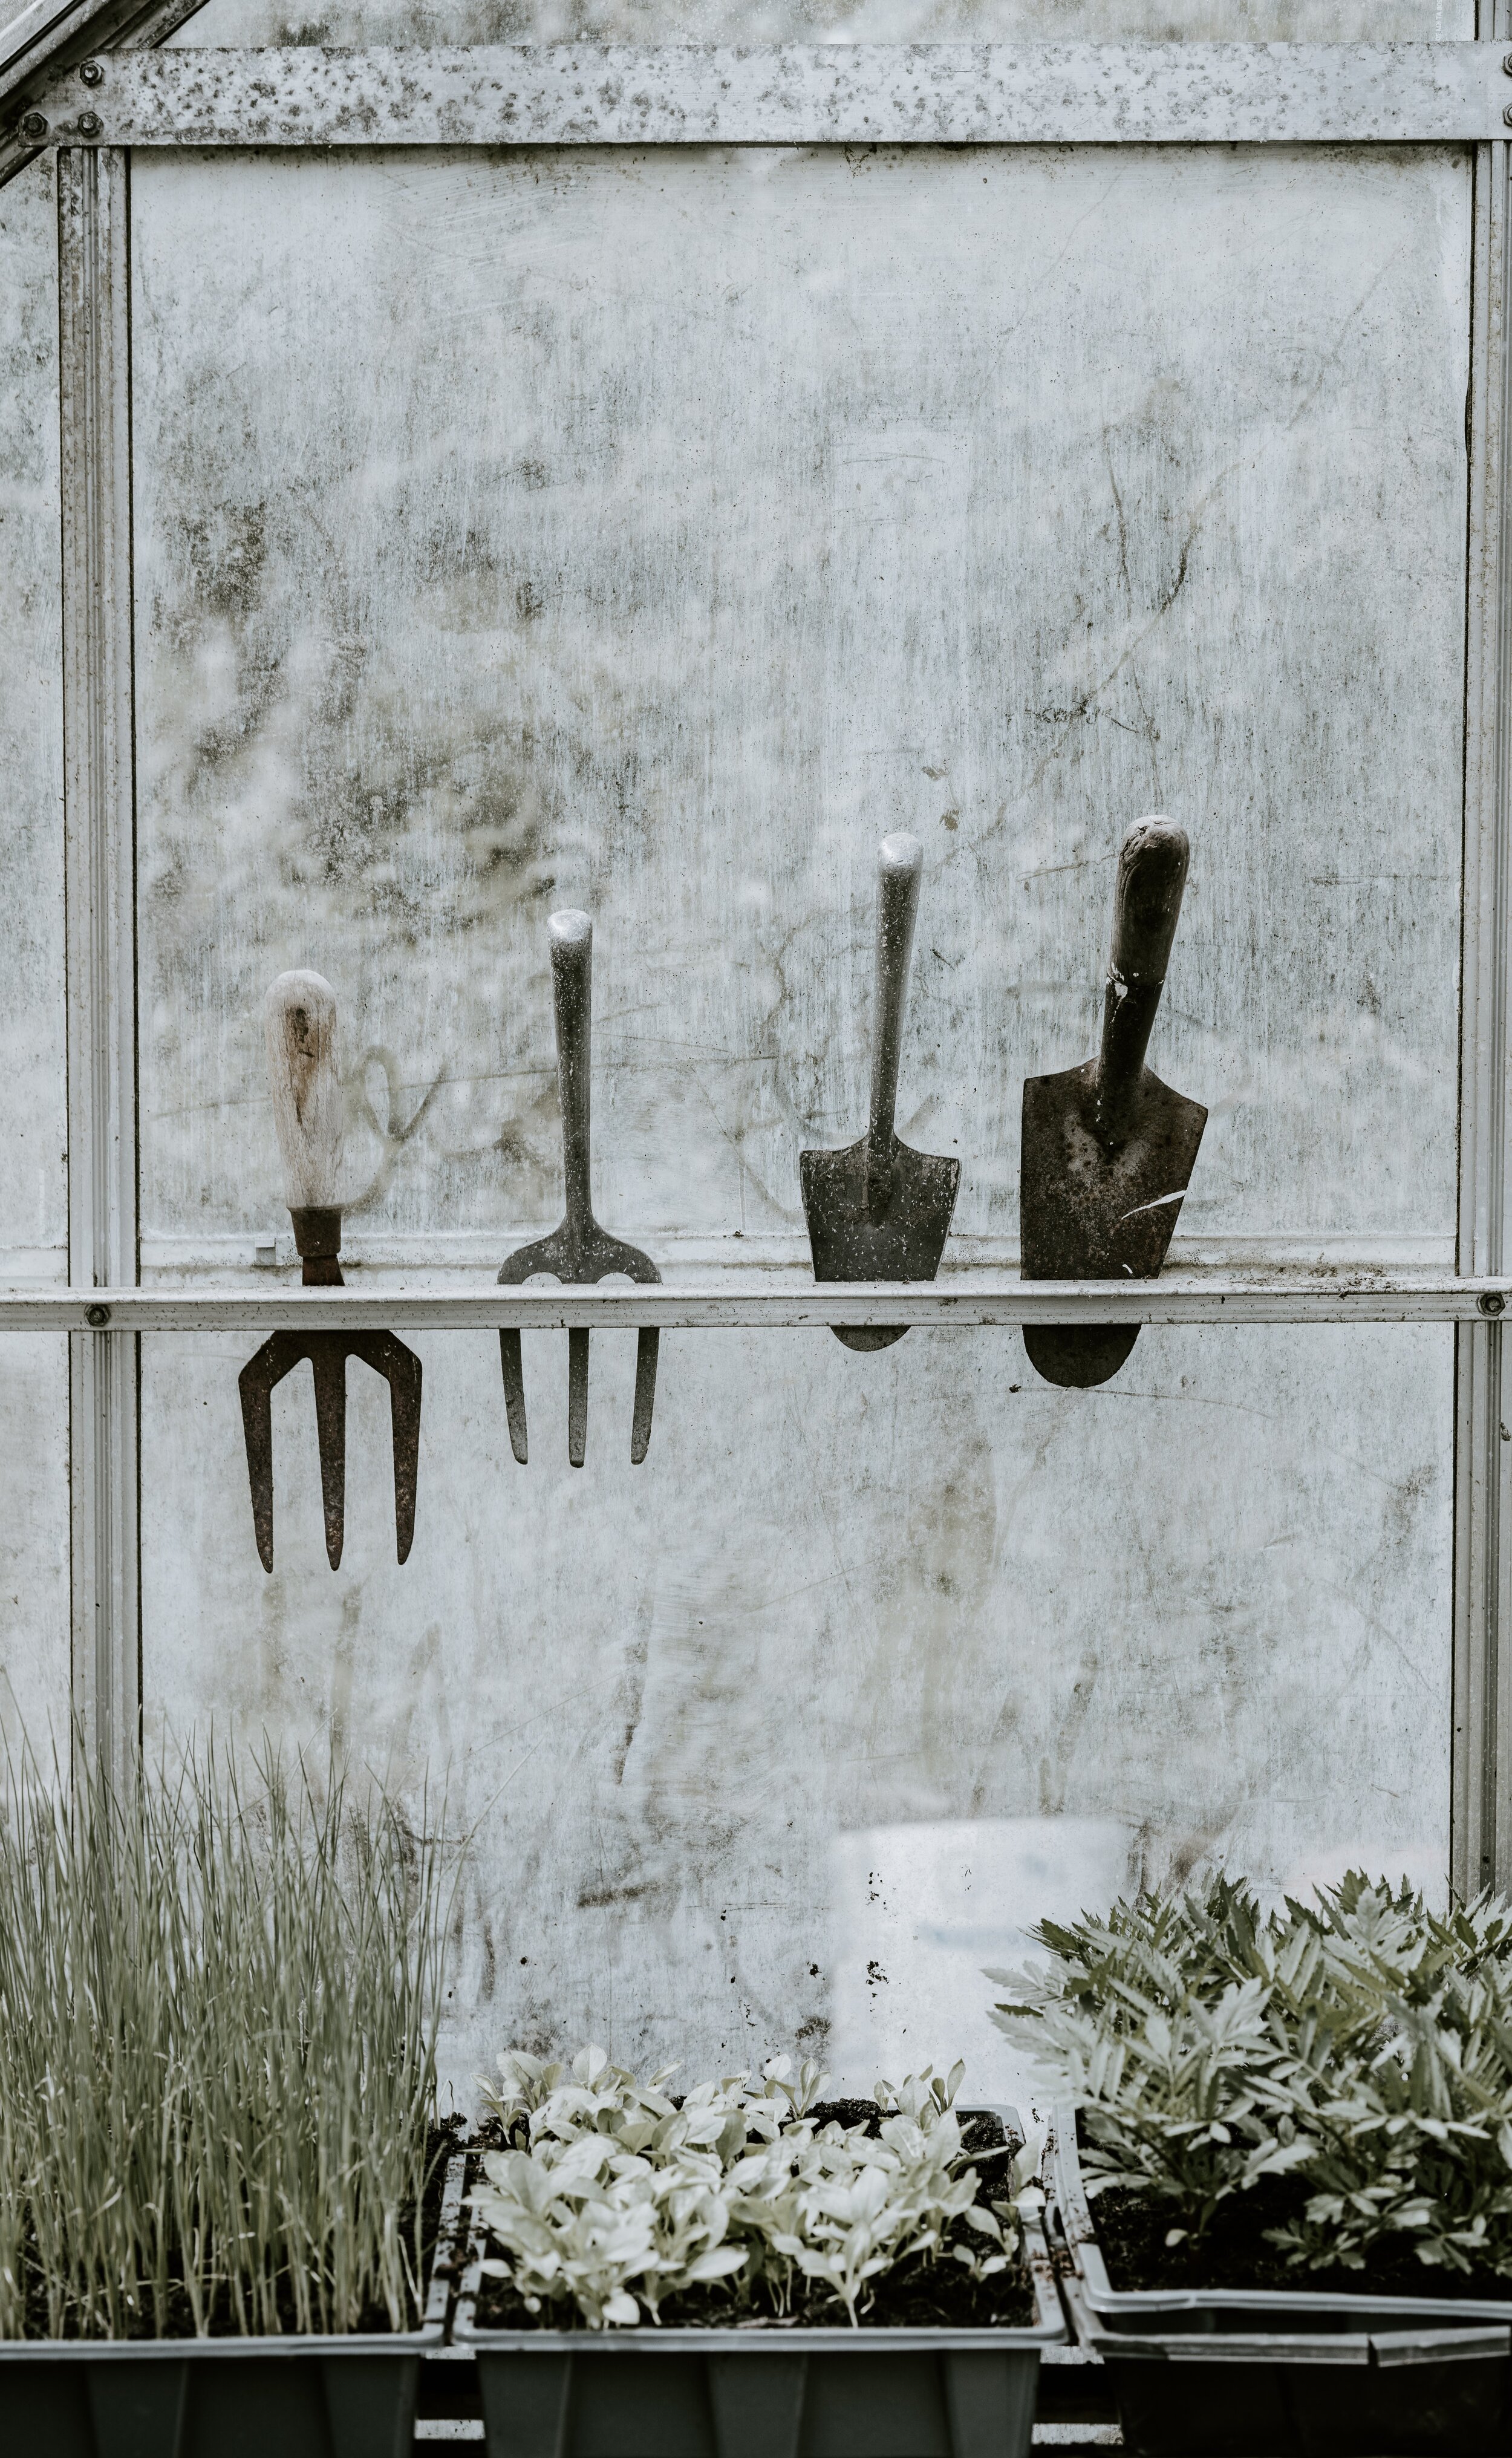
Photo by Annie Spratt on Unsplash
4. Care for your soil. Before you’re planning to plant, you might want to till your soil, apply a layer of compost, and rake in with the soil. Healthy soil equals healthy plants, so making sure to pay special attention to this step will set you and your crop up for success this year.
5. Zone Check. Give yourself a refresher of which zone you are located, and plan your plants out according to that. There’s nothing more discouraging than knowing that your plant won’t survive due to the weather conditions that you have no control over.

With these tips, we hope that you’ll be as excited as we are about this new season. And we hope that you’ll visit us to pick out all of your gorgeous flowers and healthy vegetables this spring.

Thank you so much for joining us here. For more information on what Garden Valley Farmers Market is about, you can visit us here. If you’re wanting to visit with us, come by any of our five North Carolina locations. If you’re wanting to follow along with us, you can do so either on our Facebook, Youtube, or our Instagram. And if you’re wanting to check out our other recipes and blog posts, or are needing more inspiration, follow us on our Pinterest. We’d love to have you join us in our journey of planting better, eating better, and living better.
Much love,
Your Garden Valley Farmers Market Team

How and When to Repot Your Houseplant
How many times have you looked at your houseplant and said, “You need something”, but aren’t sure what that something is? Odds are, you might need to repot your beautiful plant. Read all about how and why you need to repot your houseplant with this detailed post.
Items Needed
Pot with drainage hole that is 1 to 2 inches bigger (no bigger than 2)
Good quality indoor potting mix
Water
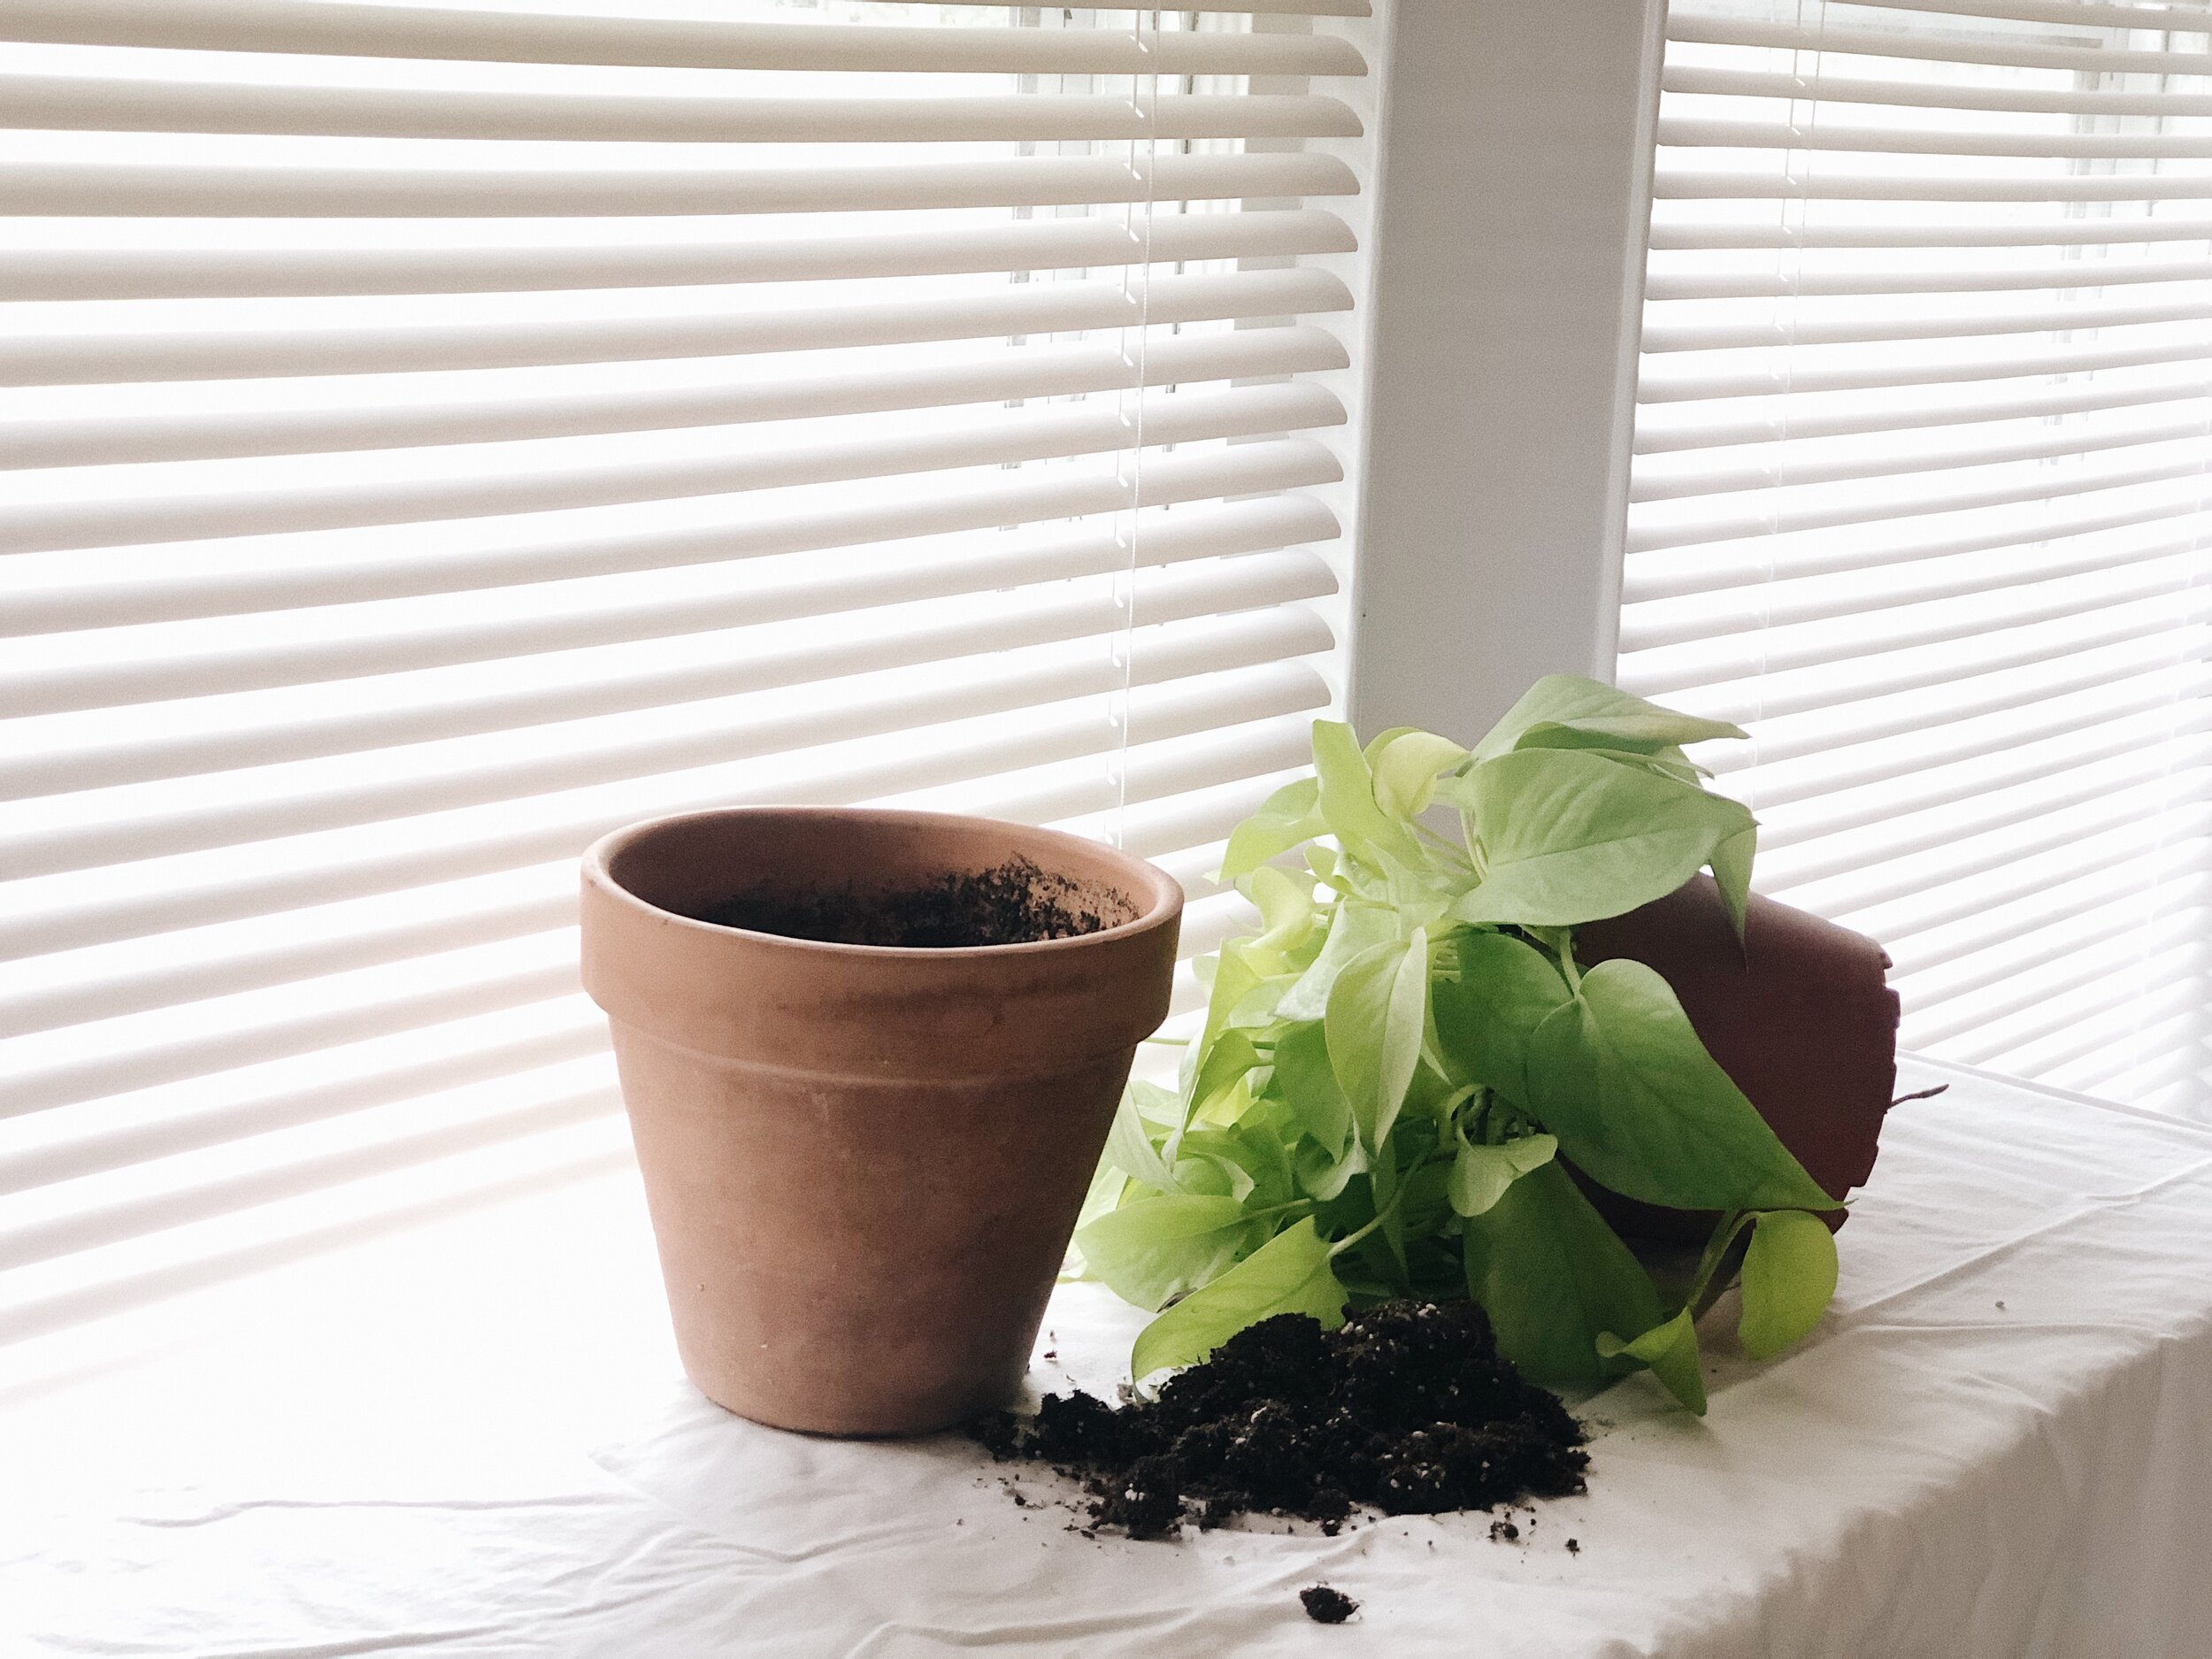
How to Repot Your Houseplant
1. Water your plant the day before, that way your soil and roots are easier to remove from the pot. It also helps reduce “shock” to your plant during transplant day
2. Gently pull out your plant from pot. Depending on it’s size, you may need to tilt the pot upside down, being careful not to drop it. You might need a friend for this depending on how big your pot is. If your plant is extremely root bound, you can take a knife and glide it around the inside of the pot to loosen the roots.

3. Once your plant is outside of its original pot, gently work your fingers along the roots of the plant. This is also where you would inspect your plant and cut off any brown or black roots caused by overwatering.
4. Fill the bottom of the pot with an inch of your indoor potting mix. Gently place your plant into the pot and fill the perimeter with soil.

5. Gently press your hand down on the soil once it has reached the top. This makes sure that all areas have been covered with soil and that there are no air pockets hiding.
6. Water lightly so that the soil is wet but not drenched.
*If your plant seems to be going through a period of “shock”, it’s perfectly normal. Give it about a week, and you’ll see that it will be thriving once again and more vibrant than before.
When To Repot
+You have plant babies. Over time, plant babies can tend to grow along with the mother plant. Which is GREAT! It means that your plant is thriving. But if your mother plant is competing for nutrients with the baby plants, it can stress the overall plant out.
+You have roots growing out the bottom of your pot. Congratulations, because this means it has been thriving, and just needs more room to grow, and a fresh repotting can do tremendous amounts of good for your plant.
+It just seems “blah”. No matter what you do, (i.e. watering correctly, correct sunlight, or even talking to it) it just seems to be a little down. It might need some fresh soil to provide it with more nutrients. It can’t survive on just that original batch of soil alone.
+You have to water more frequently. If your soil seems to be drying up quicker than before, it might be time to repot and give that plant some love. With better soil composition comes better water absorption, which means a much happier plant in return.
+Root rot. If your plant’s roots are turning black or brown, it’s definitely time to repot your plant. Along with repotting, cut off the damaged portion of your plant’s roots, and this will help save the entire plant from suffering the damage. Also, maybe lighten up on the watering once your plant has it’s new “home”.

Thank you so much for joining us here. For more information on what Garden Valley Farmers Market is about, you can visit us here. If you’re wanting to visit with us, come by any of our five North Carolina locations. If you’re wanting to follow along with us, you can do so either on our Facebook, Youtube, or our Instagram. And if you’re wanting to check out our other recipes and blog posts, or are needing more inspiration, follow us on our Pinterest. We’d love to have you join us in our journey of planting better, eating better, and living better.
Much love,
Your Garden Valley Farmers Market Team

Immunity And Energy Boosting Elderberry Smoothie
Elderberry is an easy addition that we can all add to our daily wellness routine, and one that has recently exploded in popularity in the last few years. But it’s actually been around for quite some time. We’re putting together a few facts about Elderberry syrup and how you can make this easy and delicious elderberry smoothie that boosts your energy and immune systems.
Elderberry is an easy addition that we can all add to our daily wellness routine, and one that has recently exploded in popularity in the last few years. But it’s actually been around for quite some time. We’re putting together a few facts about Elderberry syrup and how you can make this easy and delicious elderberry smoothie that boosts your energy and immune systems.
DID YOU KNOW?
Native Americans would use elderberry for infections, ancient Egyptians used it for healing burns, and it was used in folk medicine to treat influenza, headaches, and even used as a laxative.

IMPORTANT
Elderberry syrup is a sweet and delicious way to boost your immunity, but the berries can only be eaten when cooked. They are poisonous when consumed raw, so please, be wary of that if growing your own.
WHY IT’S HEALTHY
It’s full of antioxidants, vitamin C, and fiber, all of which are very beneficial to our bodies in so many good ways. You can read more about why in this article:
https://www.medicalnewstoday.com/articles/323288.php#nutrition
This smoothie recipe not only has immune boosting properties due to the elderberry syrup, but is also has energy boosting vitamins and some protein. So you get a little bit of everything with this recipe, and, it’s delicious. We also used this specific elderberry syrup, which is locally made here in North Carolina, and a product that we try to keep in stock for you year round.

HOW TO MAKE YOUR SMOOTHIE
Gather all of your ingredients, put them in the blender, and blend for approximately 60 seconds. It’s even easier than our apple pie recipe. What your left with is this creamy, sweet, and refreshing smoothie that’s sure to be enjoyed by you and your smoothie drinking buddy.
So cheers to your health and drink up!

If you’re wanting to order your own Elderberry syrup, click here and let us know.
Thank you so much for joining us here. For more information on what Garden Valley Farmers Market is about, you can visit us here. If you’re wanting to visit with us, come by any of our five North Carolina locations. If you’re wanting to follow along with us, you can do so either on our Facebook or our Instagram. And if you’re wanting to check out our other recipes and blog posts, or are needing more inspiration, follow us on our Pinterest. We’d love to have you join us in our journey of planting better, eating better, and living better.
Much love,
Your Garden Valley Farmers Market Team

Immunity and energy boosting elderberry smoothie
servings: 2 people
Total time: 5 minutes
INGREDIENTS
1 1/2 cups milk (can substitute with your favorite non-dairy option)
2 dollops greek yogurt
2 teaspoons elderberry syrup
Handful of spinach
1/4 cup strawberries
1/4 cup blueberries
1 banana (can substitute an avocado)
1 tablespoon chia seeds
INSTRUCTIONS
+Place all items in your blender
+Blend until smooth, approximately 60-90 seconds depending on your blender
s i d e n o t e s
+ If your fruit is not frozen or cold, you can always add a few ice cubes to get a colder temperature.
+Can also substitute an avocado for the banana if you aren’t wanting your smoothie to be as sweet.
Welcome to
Garden Valley Farmers Market where we strive to
Plant Better.
Eat Better.
Live Better.
To read more about what our company is about, click the photo below. We’re glad you’re here.

LET’S BE SOCIAL
WHAT’S HAPPENING ON INSTAGRAM