
B L O G

Gardening for a Beginner; All About Raised Garden Beds
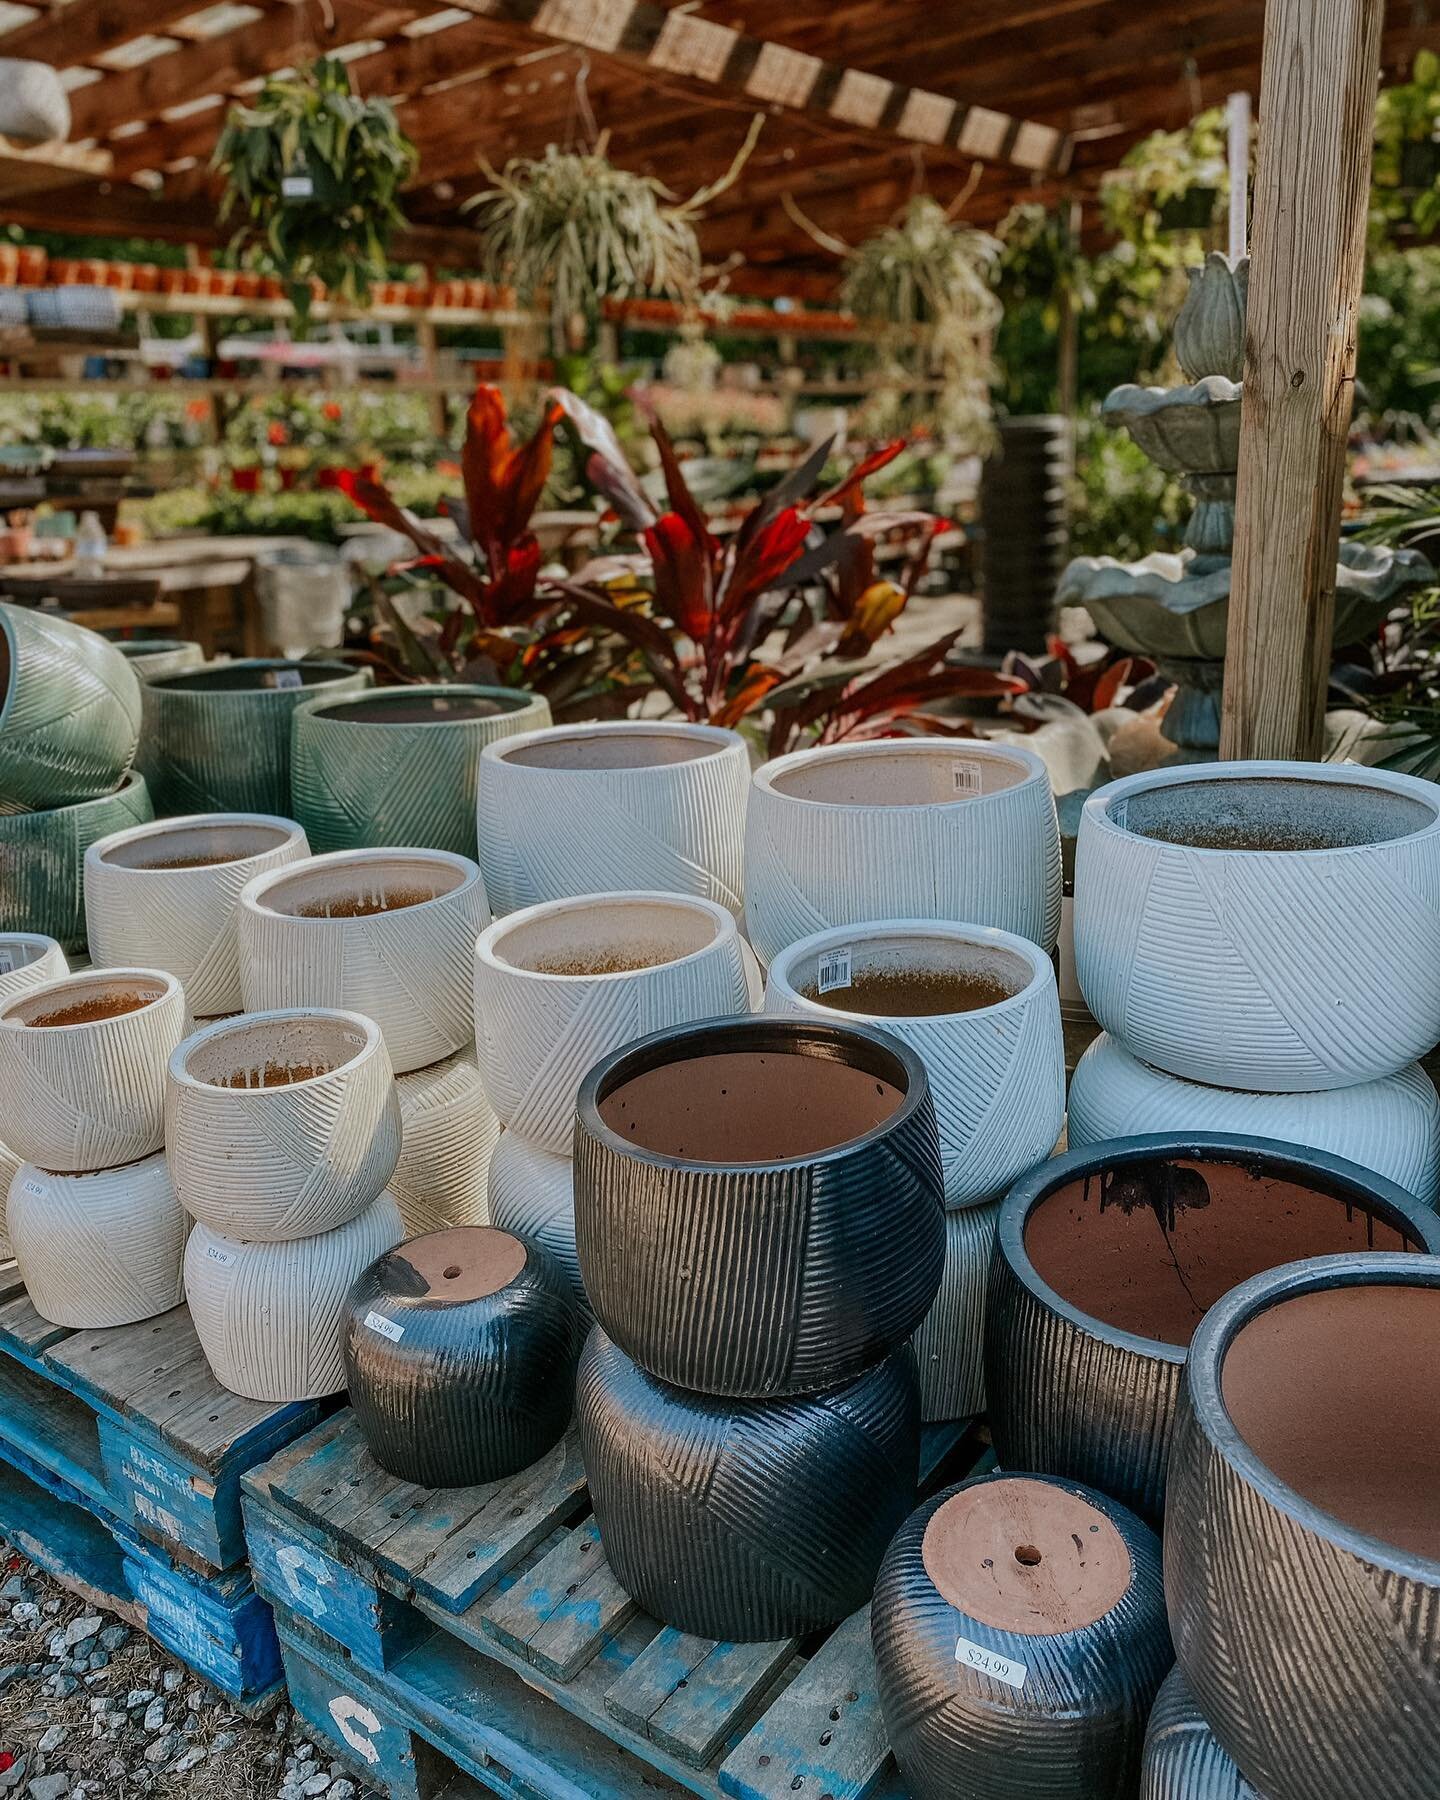
Raised beds are becoming very popular lately, and there’s a reason why: once built, they help protect your back, have less weeds, provide good drainage for your plants (if done right), allow for better weed control, can build anywhere in your yard, AND you can take them with you if you ever have to move houses. Learn all about how you can start your very own raised bed or the in ground garden of your dreams.
Last week, we discussed all about how you can start a container and grow bag garden for yourself, but if you’re wanting to try your hands at something different and have some room in your yard, this post is for you! Raised beds are becoming very popular lately, and there’s a reason why: once built, they help protect your back, have less weeds, provide good drainage for your plants (if done right), allow for better weed control, can build anywhere in your yard, AND you can take them with you if you ever have to move houses. Learn all about how you can start your very own raised bed or the in ground garden of your dreams.
W H E R E T O G R O W
The location of your garden really just depends on what you’re wanting to grow. If you’re growing vegetables like tomatoes, cucumbers, or squash/zucchini you will need a space with FULL sun, which is 6 or more hours of sunlight. But if you have an area that has less than 6 hours of sunlight exposure, maybe try growing broccoli, carrots, or cabbage. It’s also beneficial for you to know which USDA zone you live in, which you can find here. If you’re wanting to speak with an expert on what to grow, you can visit any of our Garden Valley locations and we would be happy to assist you in what to plant this spring!

W A T E R I N G
DRAINAGE
Before choosing your location for your beds, make sure that your beds are not in a location where there is flooding. Flooding causes your roots to rot, which means no bueno for your plants.
WHEN TO WATER
The best way to know if you are needing to water your plants is the standard test for any plant. Stick your finger about 3 inches into the soil and it should feel slightly damp. If not, you’re probably due for a good watering. Also know that if it’s the hottest part of the day and your plants seem to be really sad and wilted, it might not mean that they need water. For this reason, checking the soil is always the best indicator on whether your plant needs water or not.
How To Water
You can water each day with a plain old hose, or you can invest in a soaker hose that seems to be the most effective way of watering your garden. Either way, just make sure to water regularly so that your plant is not stressed out. Also, we don’t recommend overhead sprinklers because we find them to be quite inefficient. They also encourage fungus growth, and waste water.
S I Z E
You really could choose any size and shaped bed that you want, but it’s important to make sure that it is not too wide so that you’re able to reach to the middle of the bed easily. For this reason, we recommend a bed that is no more than 4 feet width for easy access.

S O I L
You could go to a chain supply store and get bagged soil, but we recommend you go to your local landscape supply company and get your raised bed soil from them. If you give them the dimensions, they will know how much you will need, already have a raised bed soil recipe mixed for you, and sometimes offer delivery if you don’t have access to a truck. The type of soil is important for raised beds as well, because you want one that is loose and full of organic matter so your plant will thrive and not drown. If you’re wanting to create the soil recipe yourself, here is a good blog post on some recipes you can get started with.
S U P P O R T
Surprise, surprise, surprise, your plant is growing! YAY! But don’t sabotage it by not providing it with enough support. Plants that climb and grow up like tomatoes need support to hold them up. This helps not only keep the fruits from touching the ground, but allows for better sunlight and aeration to reach through the plant.
You can support your plant by building a “teepee” with some cane sticks and just tie the main branches to the cane as it grows.
F E R T I L I Z E
To give your flowers and vegetable plants a better chance, we advise working some fertilizer into your soil. Sprinkle a layer of fertilizer evenly over the top of the soil, work it into your soil, and water it. Ideally this needs to be done 1 week or two before your start planting so that it has enough time to break down, but if not it’s not a huge deal. You can follow the directions on your fertilizer’s packaging as to how much to give your soil. Also remember that too much fertilizer can actually harm your plants, so please follow the directions.
G E T T I N G S T A R T E D
Learn how to build a raised bed here.
Before starting, decide what you want to plant. For example, if you’re wanting to plant vegetables/fruit, ask yourself what you enjoy eating. What foods are sometimes expensive in the grocery store but you think would grow well in your garden? Try those out and see how amazing the produce can taste!

WHEN STARTING WITH SEEDS
This process takes more time to see the “fruits” of your labour, but you are able to have more of a variety in which plant you actually want, because your local garden center may not have access to those starters. But always be sure to check with your garden center, aka Garden Valley for those of you local to the Triad of North Carolina. You can also check out this post we released last year on why shopping local is important.
When starting with seeds, vegetables will generally need to be propagated into seedlings before they are placed into your pot. You can reuse some old plastic containers that you’ve used for food like yogurt containers, egg shells, citrus peels, . Plastic is preferable in the instance because it retains moisture much better than a clay pot. Whatever container you do use, make sure it is clean and that you poke holes into the bottom to allow for drainage.
WHEN STARTING WITH STARTERS
With starters, the process is shortened and there is a better likelihood that your plant will survive. And we have plenty of starters vegetables and flowers to choose from at Garden Valley!
H O W T O S T A R T
1. Remove about an inch or two of the top soil where the bed will lay on after you’ve built your raised beds. This creates a nice little cozy house for your bed to rest on and prevents any soil running out from underneath the bed.
2. Decide whether you want to line the bottom of your bed or not. If you have a ton of grass and weeds where your bed is resting on, we suggest lining the bottom of your bed with landscape fabric, which you can find here, or you could apply a heavy layer of cardboard if you have any lying around. But, if you choose to forego this step, place a good layer of old compost and work into the soil. Then you can place your raised bed in it’s designated spot!
3. Fill bed with the soil mixture you’re wanting. After filling your bed with soil, place your plants in the location you are wanting to plant them, creating a layout before you start digging away. And make sure to keep in mind the mature plant’s size so you can avoid the dreaded over crowding.
4. Plant away! When planting, remember to also look at how deep your plant likes to be planted, as some only like to be just below the surface, and some plants like to be planted deep into the soil.

Thank you so much for joining us here. For more information on what Garden Valley Farmers Market is about, you can visit us here. If you’re wanting to visit with us, come by any of our five North Carolina locations. If you’re wanting to follow along with us, you can do so either on our Facebook, Youtube, or our Instagram. And if you’re wanting to check out our other recipes and blog posts, or are needing more inspiration, follow us on our Pinterest. We’d love to have you join us in our journey of planting better, eating better, and living better.
Much love,
Your Garden Valley Farmers Market Team

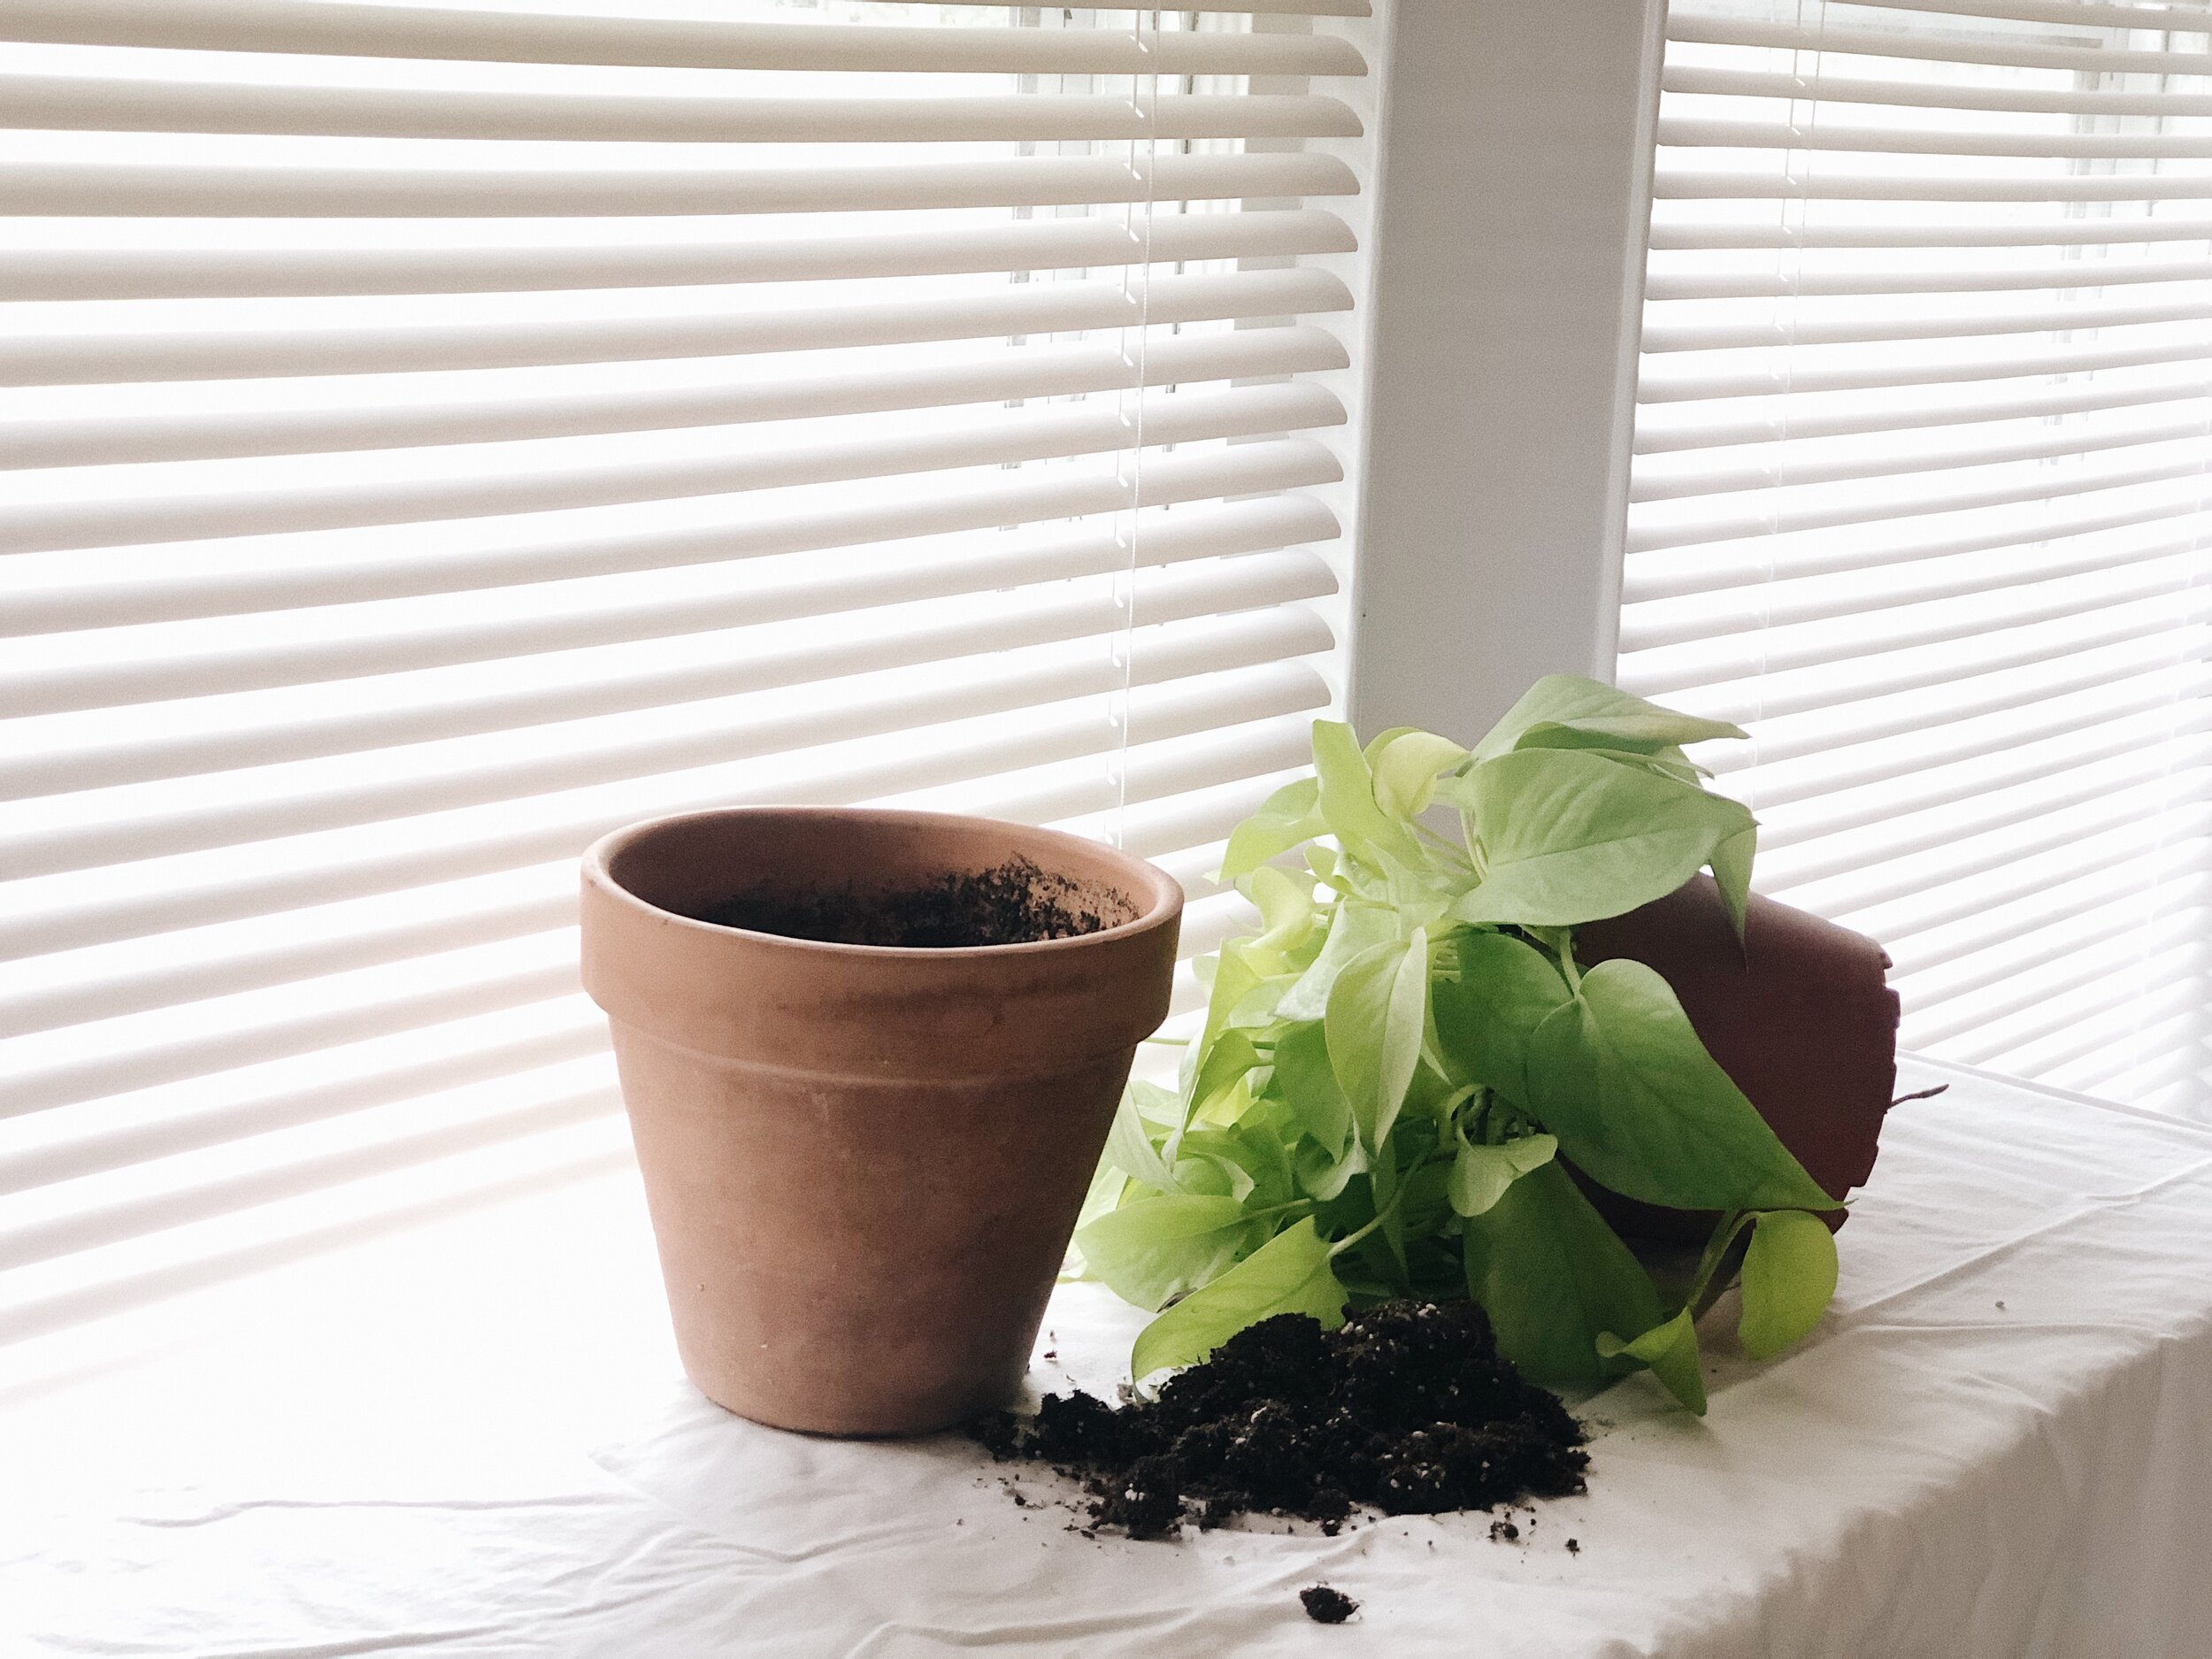
How and When to Repot Your Houseplant
How many times have you looked at your houseplant and said, “You need something”, but aren’t sure what that something is? Odds are, you might need to repot your beautiful plant. Read all about how and why you need to repot your houseplant with this detailed post.
Items Needed
Pot with drainage hole that is 1 to 2 inches bigger (no bigger than 2)
Good quality indoor potting mix
Water
How to Repot Your Houseplant
1. Water your plant the day before, that way your soil and roots are easier to remove from the pot. It also helps reduce “shock” to your plant during transplant day
2. Gently pull out your plant from pot. Depending on it’s size, you may need to tilt the pot upside down, being careful not to drop it. You might need a friend for this depending on how big your pot is. If your plant is extremely root bound, you can take a knife and glide it around the inside of the pot to loosen the roots.

3. Once your plant is outside of its original pot, gently work your fingers along the roots of the plant. This is also where you would inspect your plant and cut off any brown or black roots caused by overwatering.
4. Fill the bottom of the pot with an inch of your indoor potting mix. Gently place your plant into the pot and fill the perimeter with soil.

5. Gently press your hand down on the soil once it has reached the top. This makes sure that all areas have been covered with soil and that there are no air pockets hiding.
6. Water lightly so that the soil is wet but not drenched.
*If your plant seems to be going through a period of “shock”, it’s perfectly normal. Give it about a week, and you’ll see that it will be thriving once again and more vibrant than before.
When To Repot
+You have plant babies. Over time, plant babies can tend to grow along with the mother plant. Which is GREAT! It means that your plant is thriving. But if your mother plant is competing for nutrients with the baby plants, it can stress the overall plant out.
+You have roots growing out the bottom of your pot. Congratulations, because this means it has been thriving, and just needs more room to grow, and a fresh repotting can do tremendous amounts of good for your plant.
+It just seems “blah”. No matter what you do, (i.e. watering correctly, correct sunlight, or even talking to it) it just seems to be a little down. It might need some fresh soil to provide it with more nutrients. It can’t survive on just that original batch of soil alone.
+You have to water more frequently. If your soil seems to be drying up quicker than before, it might be time to repot and give that plant some love. With better soil composition comes better water absorption, which means a much happier plant in return.
+Root rot. If your plant’s roots are turning black or brown, it’s definitely time to repot your plant. Along with repotting, cut off the damaged portion of your plant’s roots, and this will help save the entire plant from suffering the damage. Also, maybe lighten up on the watering once your plant has it’s new “home”.

Thank you so much for joining us here. For more information on what Garden Valley Farmers Market is about, you can visit us here. If you’re wanting to visit with us, come by any of our five North Carolina locations. If you’re wanting to follow along with us, you can do so either on our Facebook, Youtube, or our Instagram. And if you’re wanting to check out our other recipes and blog posts, or are needing more inspiration, follow us on our Pinterest. We’d love to have you join us in our journey of planting better, eating better, and living better.
Much love,
Your Garden Valley Farmers Market Team

Immunity And Energy Boosting Elderberry Smoothie
Elderberry is an easy addition that we can all add to our daily wellness routine, and one that has recently exploded in popularity in the last few years. But it’s actually been around for quite some time. We’re putting together a few facts about Elderberry syrup and how you can make this easy and delicious elderberry smoothie that boosts your energy and immune systems.
Elderberry is an easy addition that we can all add to our daily wellness routine, and one that has recently exploded in popularity in the last few years. But it’s actually been around for quite some time. We’re putting together a few facts about Elderberry syrup and how you can make this easy and delicious elderberry smoothie that boosts your energy and immune systems.
DID YOU KNOW?
Native Americans would use elderberry for infections, ancient Egyptians used it for healing burns, and it was used in folk medicine to treat influenza, headaches, and even used as a laxative.

IMPORTANT
Elderberry syrup is a sweet and delicious way to boost your immunity, but the berries can only be eaten when cooked. They are poisonous when consumed raw, so please, be wary of that if growing your own.
WHY IT’S HEALTHY
It’s full of antioxidants, vitamin C, and fiber, all of which are very beneficial to our bodies in so many good ways. You can read more about why in this article:
https://www.medicalnewstoday.com/articles/323288.php#nutrition
This smoothie recipe not only has immune boosting properties due to the elderberry syrup, but is also has energy boosting vitamins and some protein. So you get a little bit of everything with this recipe, and, it’s delicious. We also used this specific elderberry syrup, which is locally made here in North Carolina, and a product that we try to keep in stock for you year round.

HOW TO MAKE YOUR SMOOTHIE
Gather all of your ingredients, put them in the blender, and blend for approximately 60 seconds. It’s even easier than our apple pie recipe. What your left with is this creamy, sweet, and refreshing smoothie that’s sure to be enjoyed by you and your smoothie drinking buddy.
So cheers to your health and drink up!

If you’re wanting to order your own Elderberry syrup, click here and let us know.
Thank you so much for joining us here. For more information on what Garden Valley Farmers Market is about, you can visit us here. If you’re wanting to visit with us, come by any of our five North Carolina locations. If you’re wanting to follow along with us, you can do so either on our Facebook or our Instagram. And if you’re wanting to check out our other recipes and blog posts, or are needing more inspiration, follow us on our Pinterest. We’d love to have you join us in our journey of planting better, eating better, and living better.
Much love,
Your Garden Valley Farmers Market Team

Immunity and energy boosting elderberry smoothie
servings: 2 people
Total time: 5 minutes
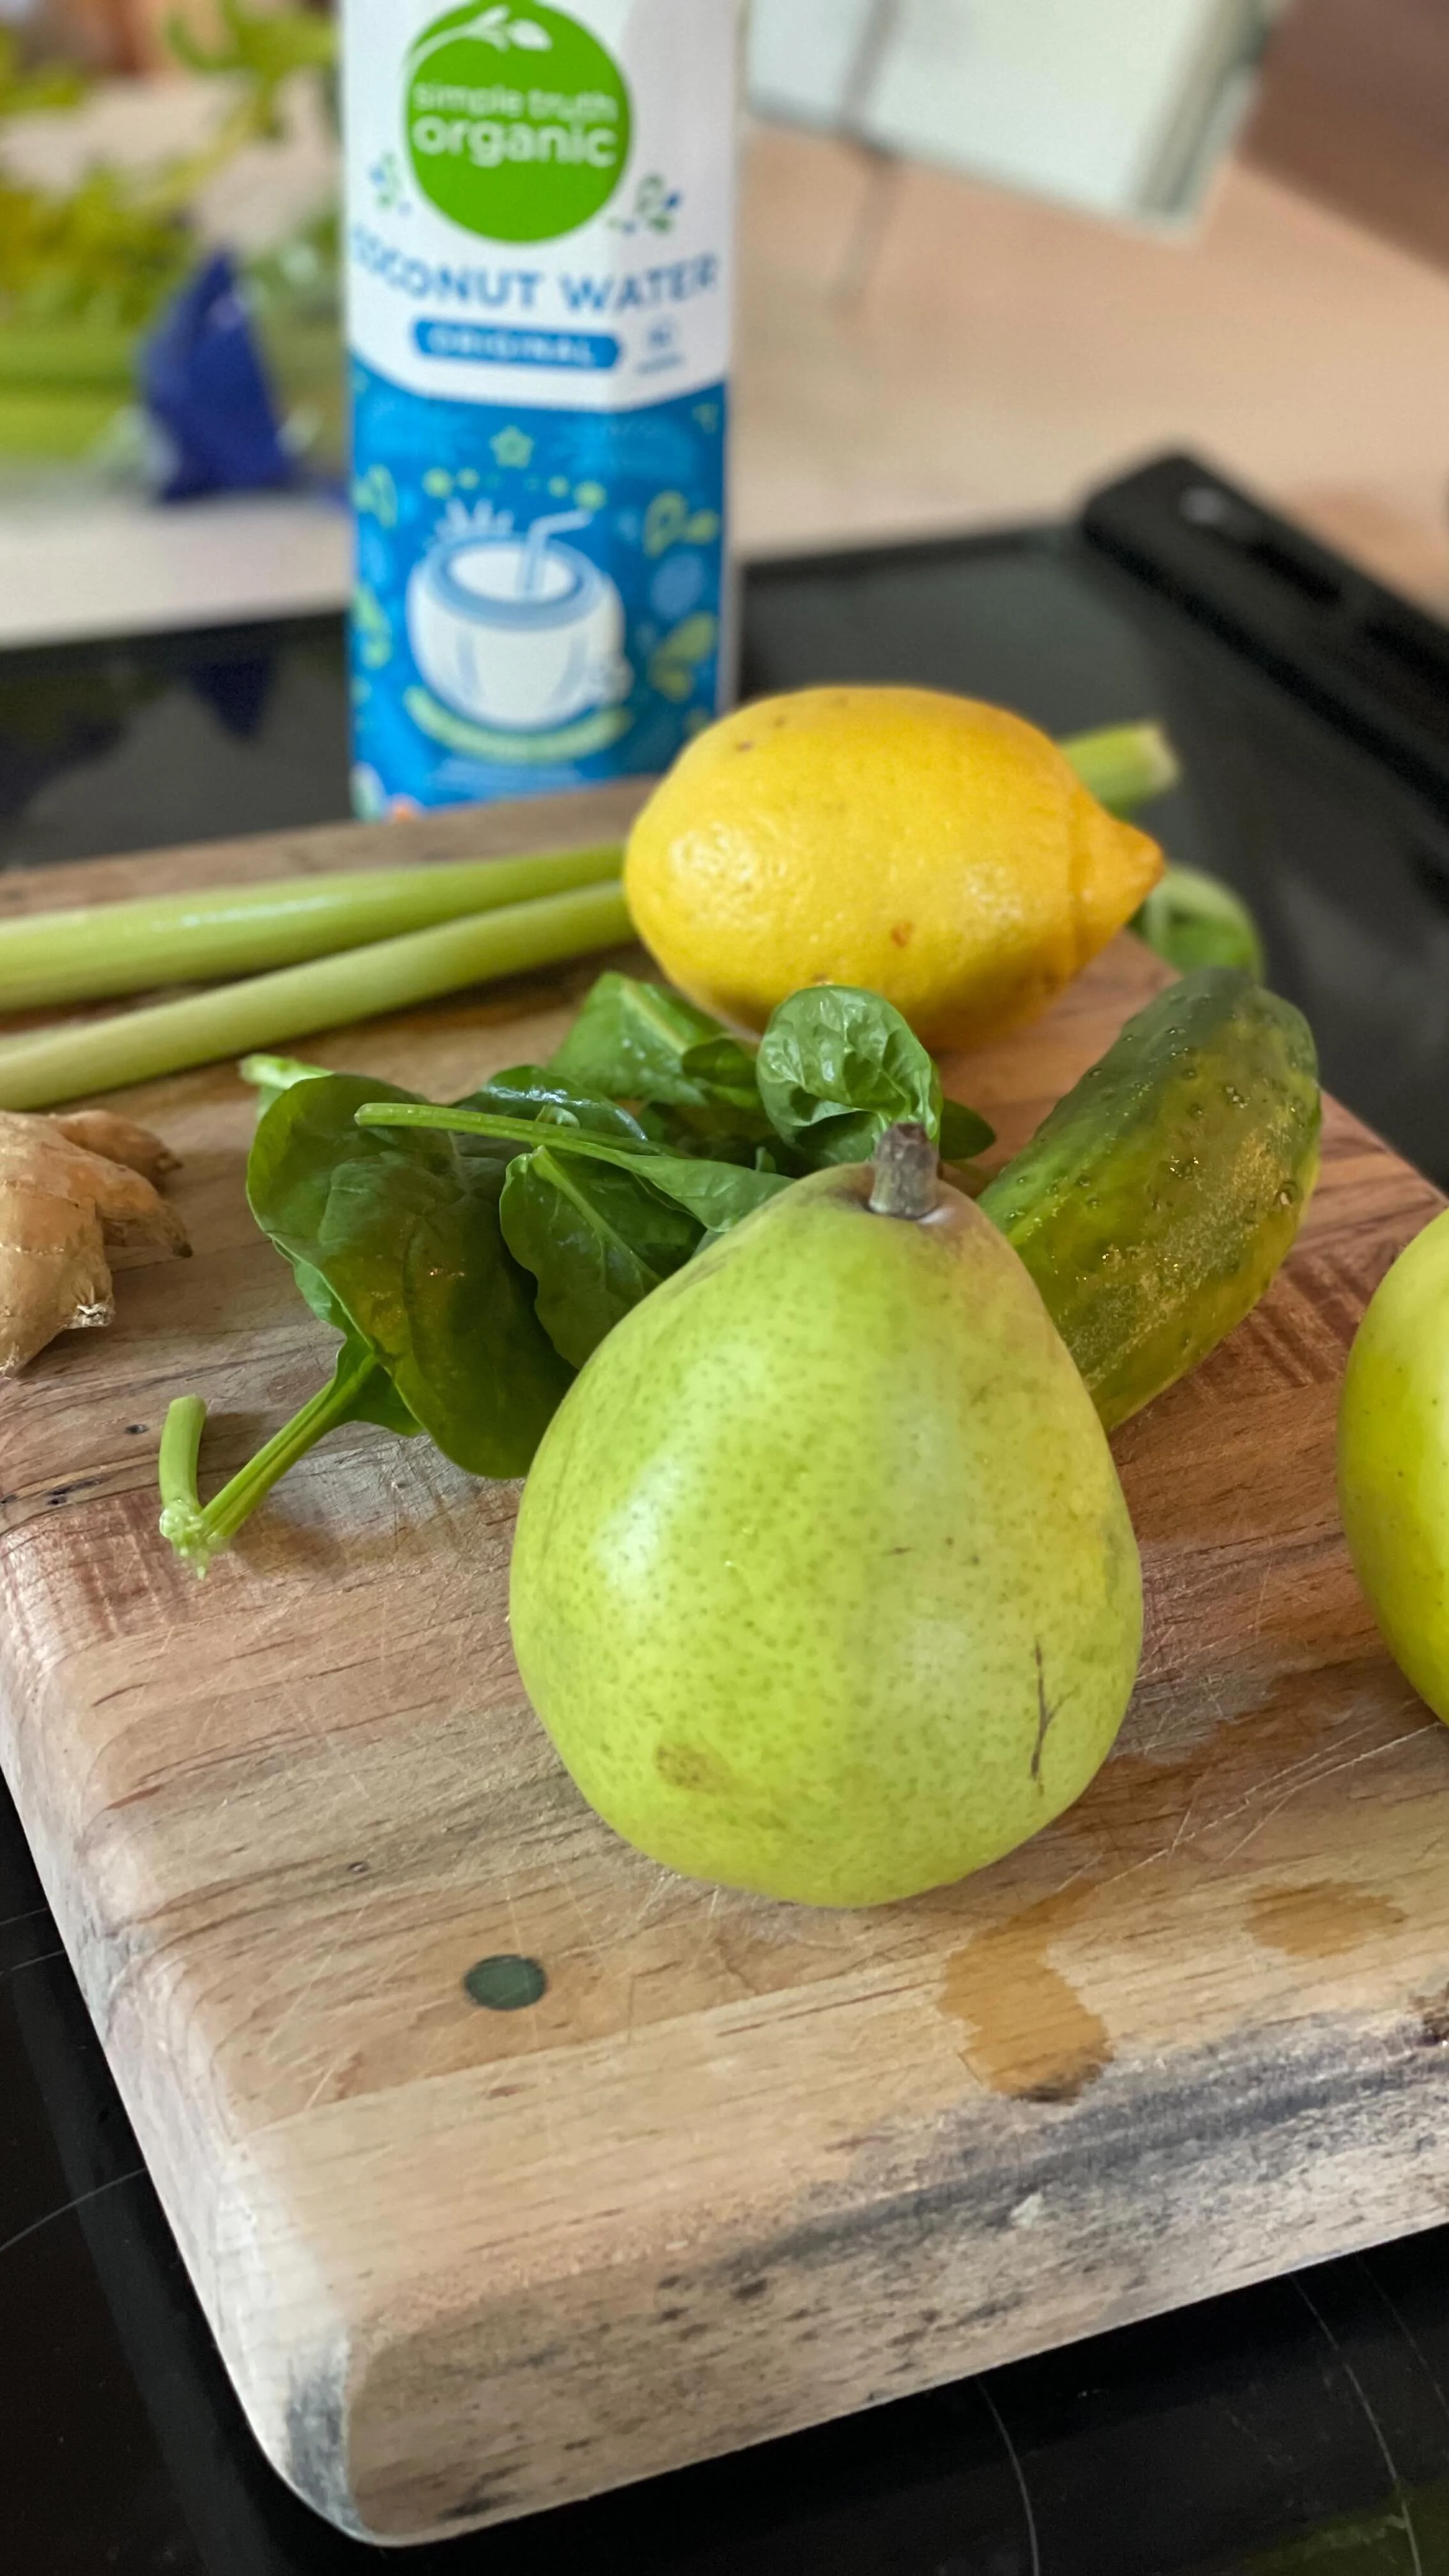
INGREDIENTS
1 1/2 cups milk (can substitute with your favorite non-dairy option)
2 dollops greek yogurt
2 teaspoons elderberry syrup
Handful of spinach
1/4 cup strawberries
1/4 cup blueberries
1 banana (can substitute an avocado)
1 tablespoon chia seeds
INSTRUCTIONS
+Place all items in your blender
+Blend until smooth, approximately 60-90 seconds depending on your blender
s i d e n o t e s
+ If your fruit is not frozen or cold, you can always add a few ice cubes to get a colder temperature.
+Can also substitute an avocado for the banana if you aren’t wanting your smoothie to be as sweet.
Welcome to
Garden Valley Farmers Market where we strive to
Plant Better.
Eat Better.
Live Better.
To read more about what our company is about, click the photo below. We’re glad you’re here.

LET’S BE SOCIAL
WHAT’S HAPPENING ON INSTAGRAM